Hey there, truck enthusiasts! As a supplier of used 8x4 cargo trucks, I've seen my fair share of these beasts on the road. One of the most important maintenance tasks for any truck, especially a used one, is changing the oil regularly. In this blog, I'm gonna walk you through the process of changing the oil in a used 8x4 cargo truck.
Why Oil Changes Matter
First off, let's talk about why oil changes are so crucial. The oil in your truck's engine acts as a lubricant, reducing friction between moving parts. Over time, the oil breaks down and gets contaminated with dirt, metal shavings, and other debris. This can lead to increased wear and tear on the engine, reduced performance, and even engine failure if left unchecked.
Regular oil changes help keep your engine running smoothly, improve fuel efficiency, and extend the life of your engine. For a used 8x4 cargo truck, which has likely seen its fair share of miles, keeping up with oil changes is even more important.
What You'll Need
Before you start changing the oil, you'll need to gather a few tools and supplies. Here's a list of what you'll need:
- Oil filter wrench
- Socket set
- Drain pan
- Funnel
- New oil filter
- The right type and amount of oil for your truck (check your owner's manual for this info)
Step 1: Prepare Your Truck
Park your truck on a level surface and engage the parking brake. Make sure the engine is cool before you start working on it. You don't want to get burned by hot oil!
Step 2: Locate the Oil Drain Plug and Filter
The oil drain plug is usually located on the bottom of the oil pan, which is at the bottom of the engine. The oil filter is typically located on the side of the engine. You may need to use a jack to raise the front of the truck slightly to get better access to these components.
Step 3: Drain the Old Oil
Place the drain pan under the oil drain plug. Use a socket wrench to loosen the drain plug, but don't remove it completely just yet. Let the oil start to drain slowly to avoid splashing. Once the oil has stopped flowing, remove the drain plug completely and let the rest of the oil drain out.


Step 4: Remove the Old Oil Filter
Use an oil filter wrench to loosen the old oil filter. Turn it counterclockwise until it's loose enough to remove by hand. Once you've removed the old filter, let any remaining oil drain out into the drain pan.
Step 5: Install the New Oil Filter
Before installing the new oil filter, apply a thin layer of fresh oil to the rubber gasket on the top of the filter. This will help create a good seal. Screw the new filter onto the engine by hand, tightening it until it's snug. Don't over-tighten it, as this can damage the filter or the engine.
Step 6: Replace the Oil Drain Plug
Once all the old oil has drained out, clean the drain plug and the area around the drain hole. Replace the drain plug and tighten it securely with a socket wrench.
Step 7: Add New Oil
Use a funnel to pour the new oil into the engine through the oil filler cap. Check your owner's manual for the correct amount of oil to add. It's a good idea to add a little less than the recommended amount at first, then check the oil level with the dipstick. You can always add more oil if needed.
Step 8: Check the Oil Level
After adding the new oil, wait a few minutes for the oil to settle. Then, remove the dipstick, wipe it clean, and reinsert it all the way. Remove the dipstick again and check the oil level. The oil should be between the "min" and "max" marks on the dipstick. If it's too low, add more oil until it reaches the correct level.
Step 9: Clean Up
Once you've finished changing the oil, clean up any spills or messes. Dispose of the old oil and filter properly. Many auto parts stores and service centers will accept used oil and filters for recycling.
Other Tips
- Check for Leaks: After you've changed the oil, start the engine and let it run for a few minutes. Check for any signs of oil leaks around the oil drain plug and the oil filter. If you notice any leaks, tighten the components or replace the gaskets as needed.
- Keep a Record: It's a good idea to keep a record of when you change the oil in your truck. This will help you keep track of when the next oil change is due and ensure that you're following the manufacturer's recommended maintenance schedule.
- Use Quality Products: When changing the oil in your truck, it's important to use high-quality oil and filters. This will help ensure that your engine is properly lubricated and protected.
Related Trucks
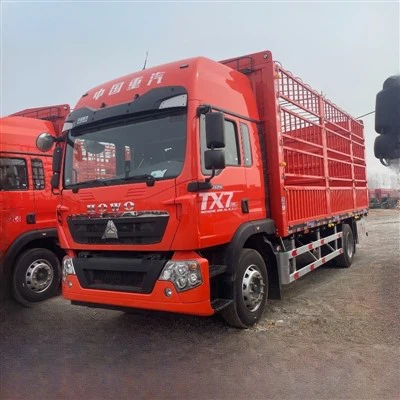
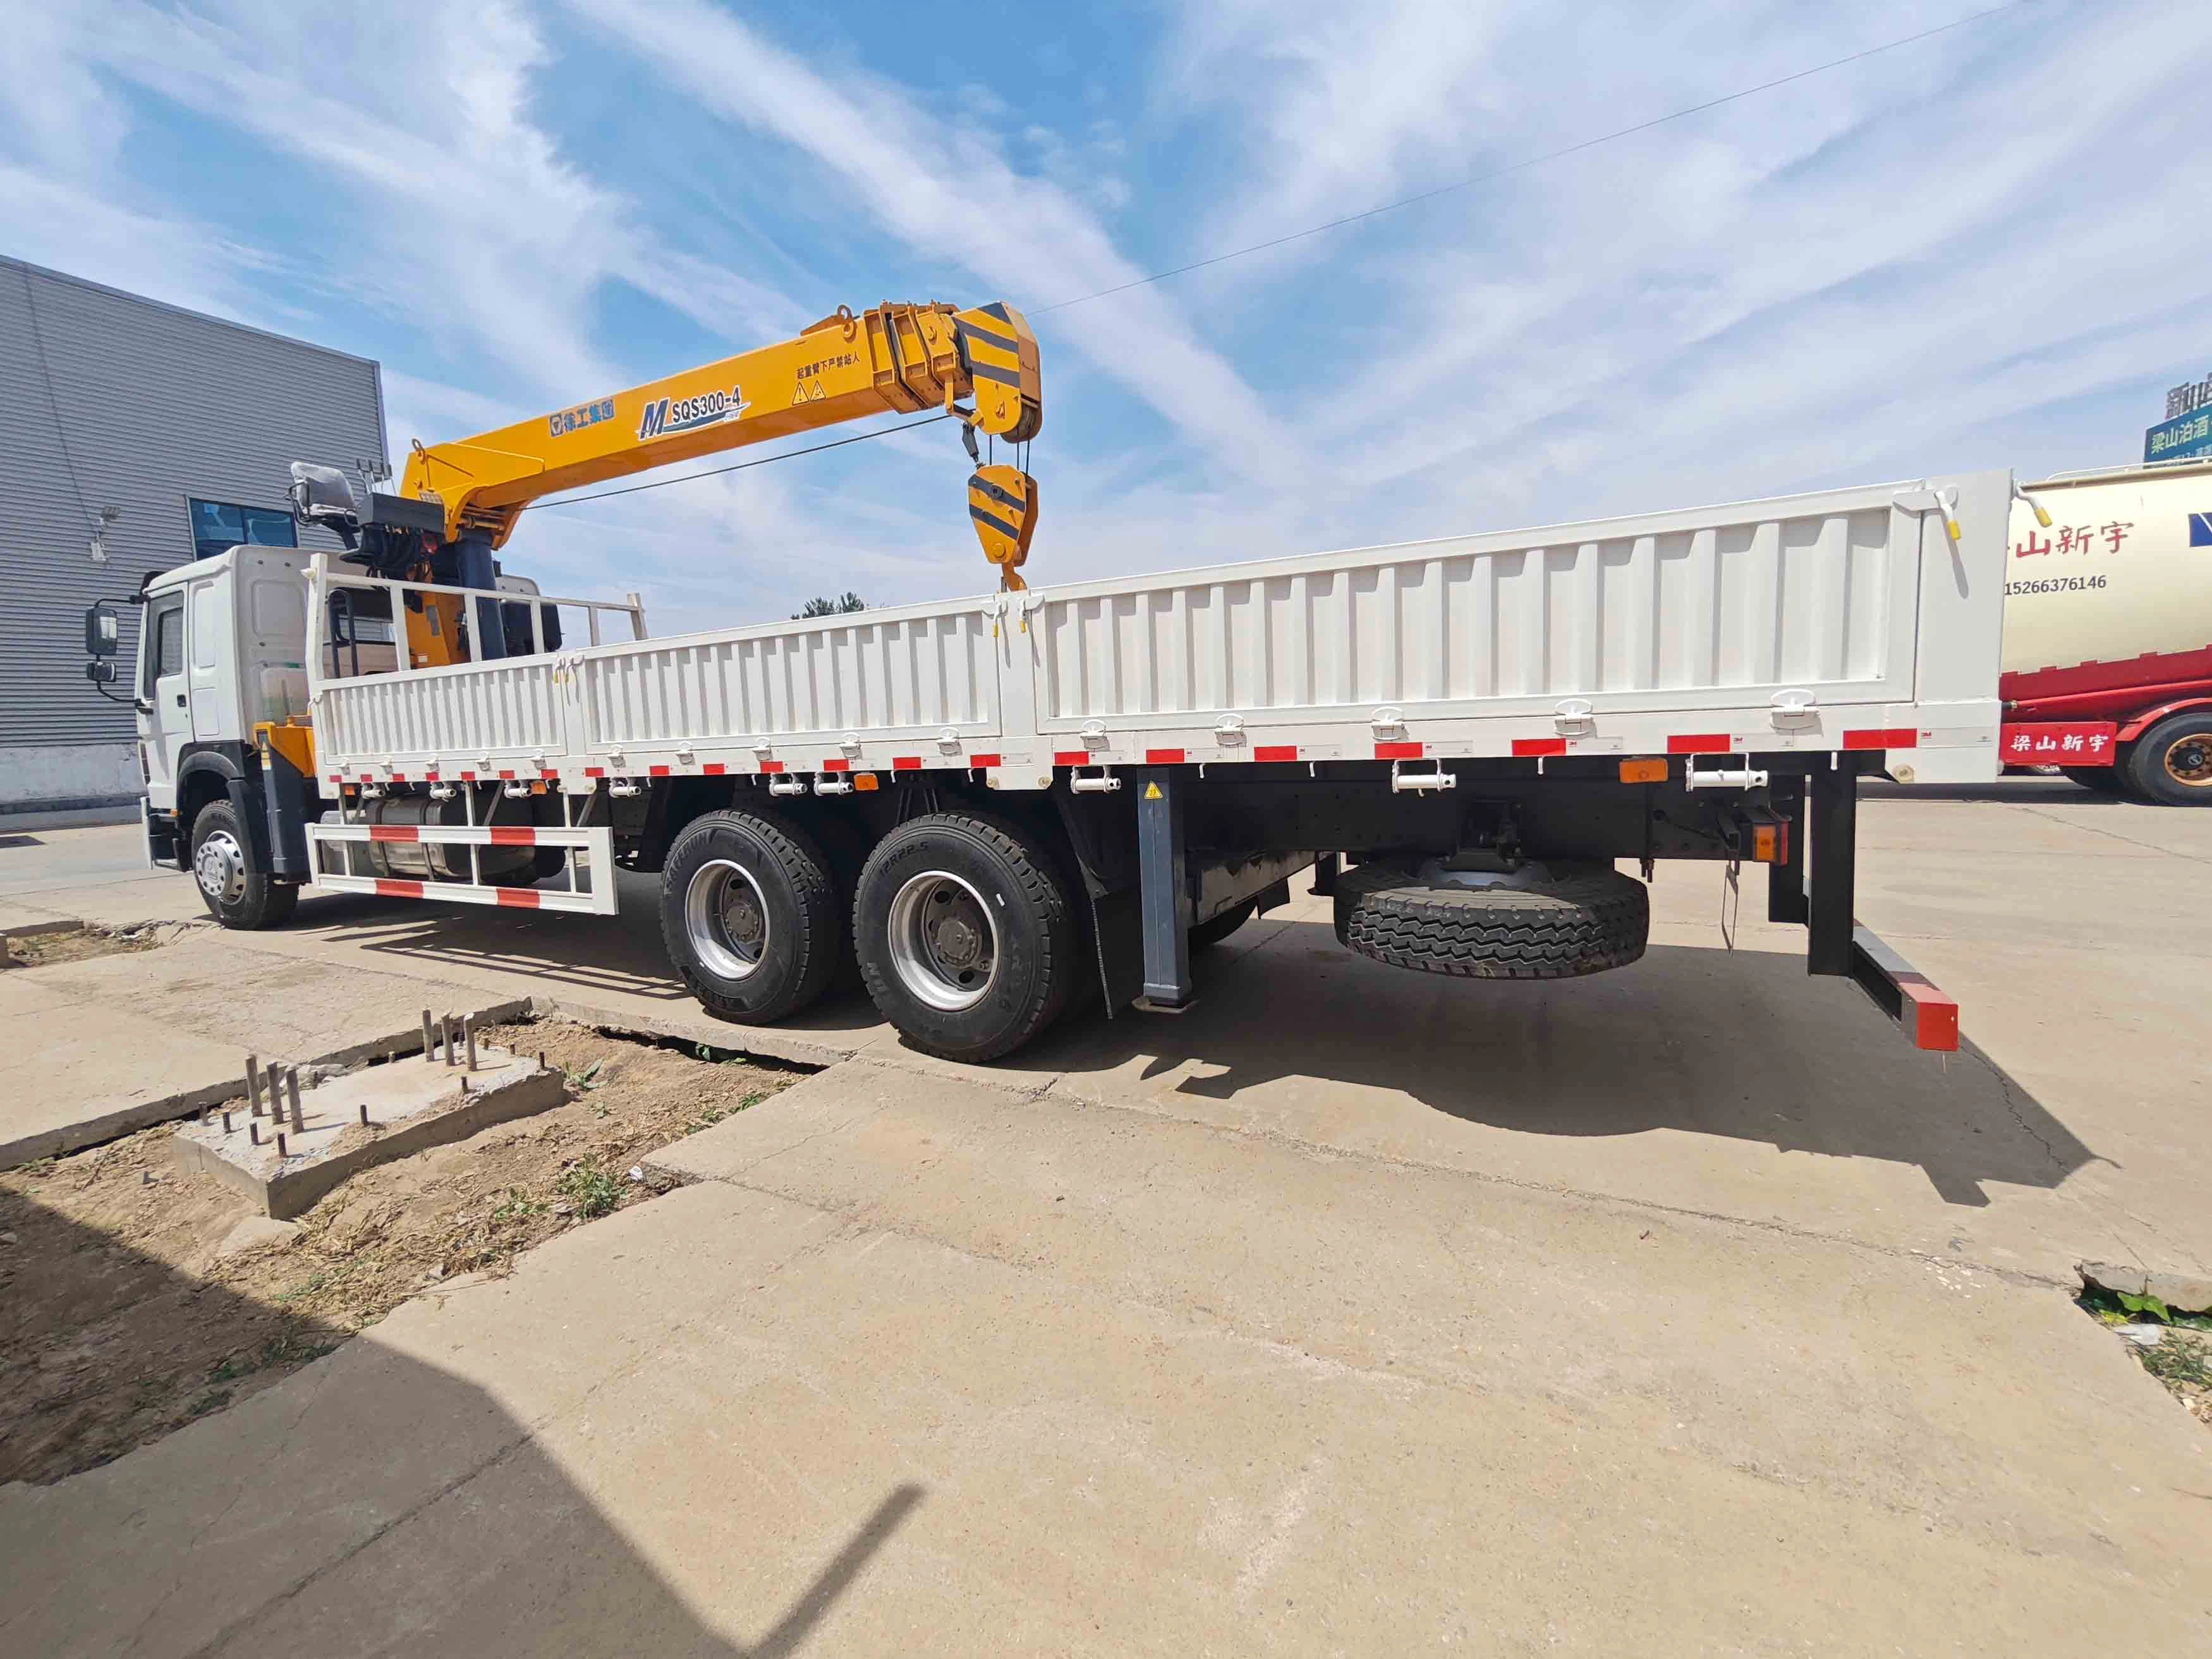
If you're in the market for a different type of cargo truck, we also offer 4x2 Cargo Truck and Used Howo Cargo Truck. And if you need a more powerful option, our Howo Used 6x4 Cargo Truck might be just what you're looking for.
Contact Us
Changing the oil in a used 8x4 cargo truck is a relatively simple process that can help keep your engine running smoothly. If you have any questions or need more information, feel free to reach out to us. We're here to help you keep your truck in top condition. Whether you're interested in our used 8x4 cargo trucks or need advice on maintenance, don't hesitate to contact us for a purchase negotiation.
References
- Truck manufacturer's owner's manual
- Automotive repair guides